Setting up a chatbot with Nertia is designed to be simple, flexible and accessible without technical experience.
Using the visual chatbot builder, you can customise how your widget looks, connect it to your business knowledge and publish it on your website. Changes can be previewed as you work, helping you create a chatbot that feels like a natural part of your brand.
This guide walks you through the complete setup process, from creating your first chatbot to installing it on your website.
Step 1: Create a New Chatbot
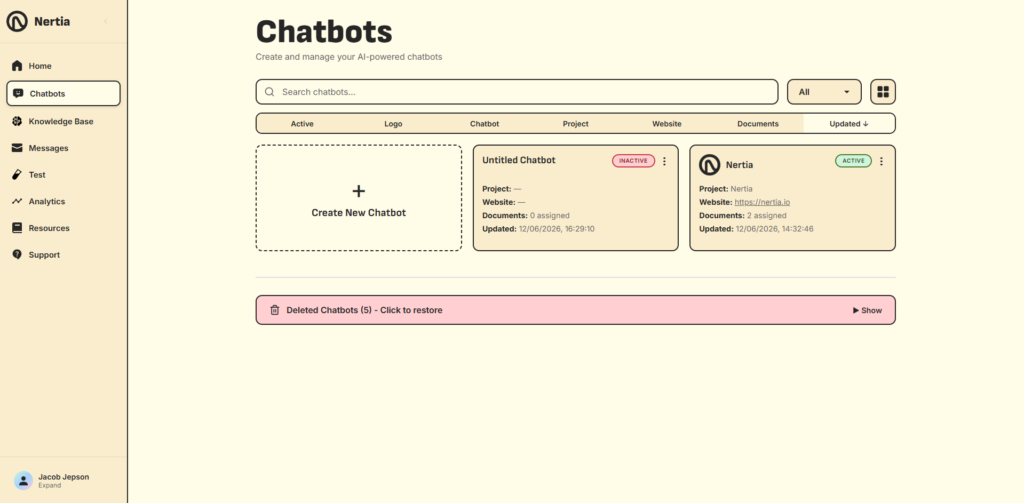
Log in to the Nertia platform and select Chatbots from the main dashboard menu.
This page displays all the chatbots connected to your account, including whether each chatbot is active, its assigned project, website address, number of documents and most recent update.
Select Create New Chatbot to begin building a new chatbot.
You can create different chatbots for different websites, business areas or purposes. Giving each chatbot a clear and recognisable name will make them easier to manage as your account grows.
Once created, you will be taken into the chatbot editor, where the setup process is divided into three main areas:
- Design
- Knowledge
- Publish
Step 2: Customise Your Chatbot Design
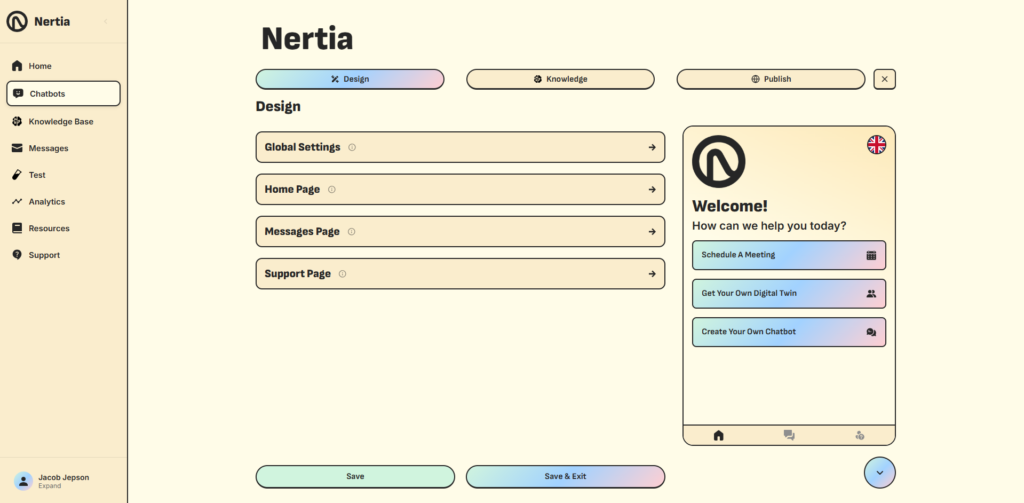
The Design section controls how your chatbot looks and how visitors interact with the widget on your website.
Your settings are organised into four main areas.
Global Settings
Use the Global Settings to define the overall appearance and behaviour of the chatbot.
Depending on the available settings, you can customise elements such as your branding, colours, typography, widget position and other visual preferences shared across the chatbot.
Try to match these settings with your existing website design so the chatbot feels like a consistent part of your brand rather than a separate third-party tool.
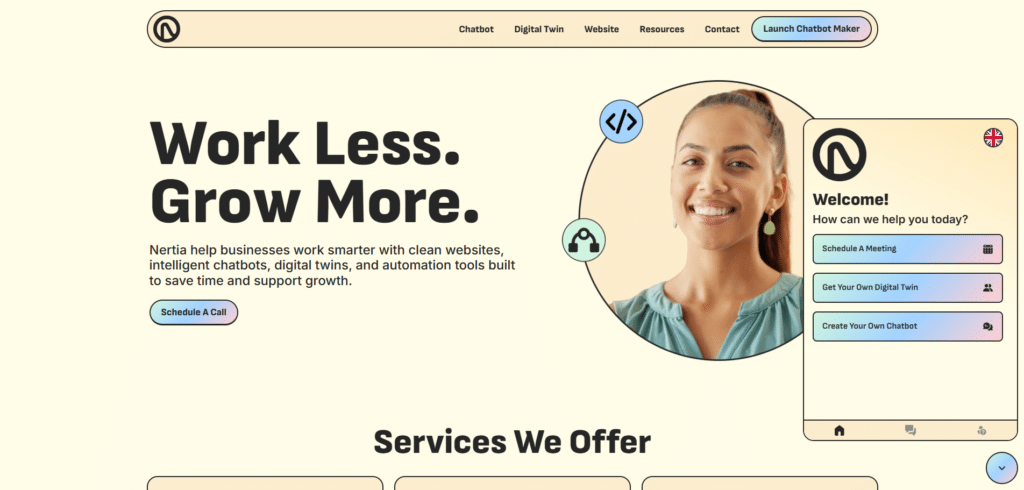
Home Page
The Home Page is the first screen visitors see when they open your chatbot.
Here, you can customise the welcome heading, supporting message, logo and call-to-action buttons.
Call-to-action buttons can guide visitors towards important pages or external links, such as:
- Your contact page
- A meeting-booking page
- A quotation form
- A service page
- A support channel
- Another useful website destination
These buttons are the primary way the current chatbot widget can direct visitors towards a conversion action.
The chatbot does not currently schedule appointments or run conversion-based logic directly within a conversation. Instead, a button such as Schedule a Meeting can link visitors to your existing booking page.
Messages Page
The Messages Page controls the appearance of the conversation area where visitors ask questions and receive answers.
Customise this section so messages remain clear, easy to read and consistent with the rest of your website.
Support Page
The Support Page can provide visitors with additional ways to contact your business when they need help from a member of your team.
Add the most relevant support or contact options for your business so visitors have a clear next step when the chatbot cannot resolve their enquiry.
Preview Your Changes
A live preview appears beside the editor as you customise your chatbot.
Use this preview to check the appearance of the home, messages and support pages before publishing. You can move between these screens using the navigation icons at the bottom of the preview.
Select Save regularly to keep your changes, or choose Save & Exit when you have finished editing.
Step 3: Add Your Business Knowledge
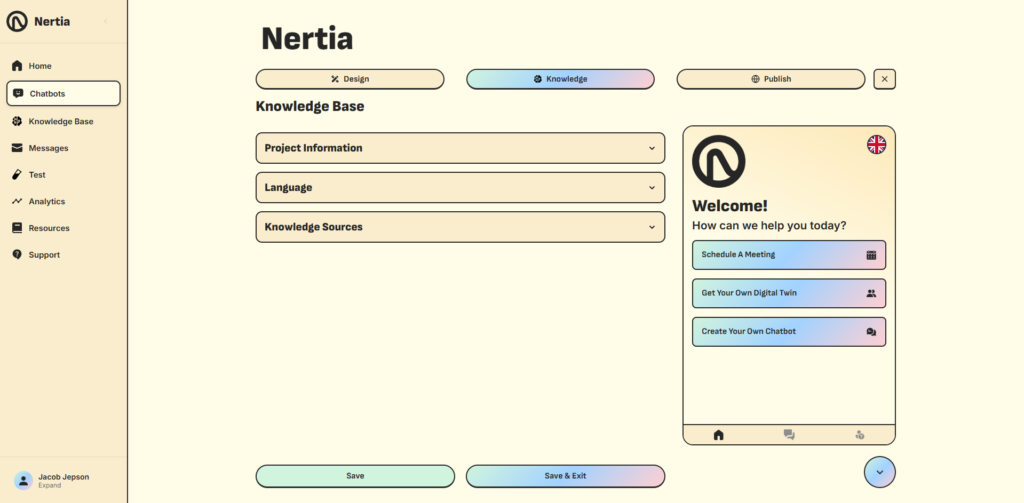
Open the Knowledge section to give your chatbot the information it needs to answer visitor questions.
This section includes your project information, language settings and assigned knowledge sources.
Add Your Project Information
Open Project Information and enter a clear project name, description and website URL.
The project description should briefly explain:
- What your business does
- Which products or services you provide
- Who you help
- What type of questions the chatbot should answer
For example:
Nertia is a digital business focused on building websites, AI tools, automations and digital products that help businesses work smarter.
A focused description gives the chatbot useful context about your business and its purpose.
Choose Your Chatbot Language
Open the Language section and select the language your chatbot should use when communicating with visitors.
Make sure this setting is appropriate for your audience and the content you plan to assign to the chatbot.
Assign Your Knowledge Sources
Open Knowledge Sources and choose the relevant knowledge language.
You can then select Add Knowledge Source and assign documents that have already been uploaded to your main Knowledge Base.
Knowledge sources may include:
- Company information
- Service descriptions
- Product guides
- Frequently asked questions
- Customer support guidance
- Policies
- Instructions
- Onboarding information
You can assign multiple documents to the same chatbot when it needs information covering different parts of your business.
The chatbot will use these assigned sources to provide answers based on your approved content. Use the minus icon beside a document to remove it when it is no longer required.
Documents must first be uploaded through the main Knowledge Base area before they can be assigned to a chatbot.
For more information, see the separate guide on how to set up your Knowledge Base.
Step 4: Review and Test Your Chatbot
Before publishing your chatbot, take time to review its design and test its answers.
Select Test from the main dashboard menu and ask questions that real visitors are likely to submit.
Test different areas of your uploaded knowledge, including:
- General company questions
- Individual services or products
- Policies and processes
- Contact information
- Common customer enquiries
Check that the chatbot provides clear, accurate and relevant answers.
When an answer is missing or unclear, review the assigned documents and confirm that the correct information is included. Clear headings, direct explanations and well-structured content can help the chatbot interpret your knowledge more effectively.
You should also check each call-to-action button to confirm that it opens the correct page or external destination.
Testing before launch helps you identify small issues before visitors begin using the chatbot on your website.
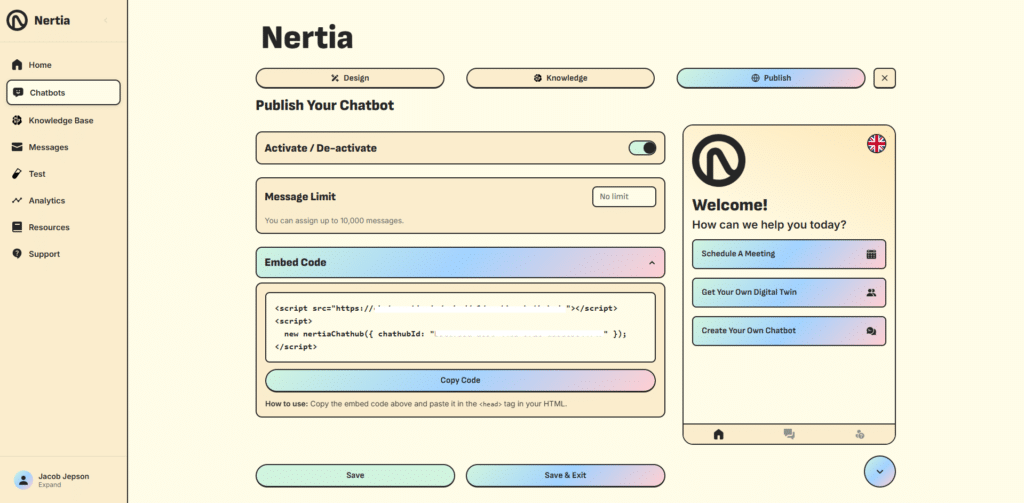
Step 5: Activate and Publish Your Chatbot
Once you are satisfied with the design, knowledge and responses, open the Publish section.
Activate Your Chatbot
Use the Activate / De-activate switch to control whether the chatbot is active.
The chatbot must be activated before visitors can use it on your website. You can return to this section and deactivate it later whenever necessary.
Set a Message Limit
The Message Limit setting allows you to control the maximum number of messages assigned to the chatbot.
Enter the limit you want to use, or leave it without a limit where available. The platform currently allows up to 10,000 messages to be assigned.
Choose a limit that is suitable for the expected level of website activity and your account requirements.
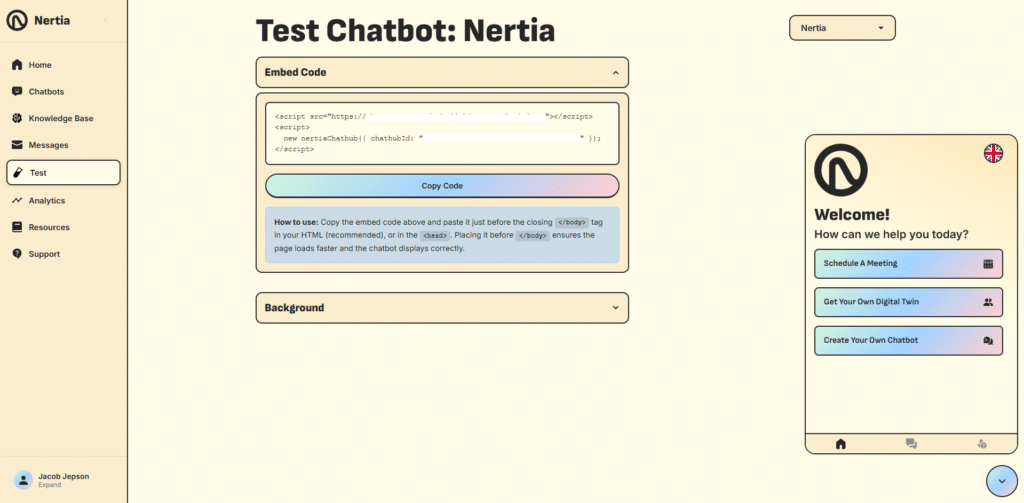
Copy the Embed Code
Open the Embed Code section and select Copy Code.
The code shown is unique to your chatbot and connects the widget to your Nertia account.
Paste the complete embed code inside the <head> section of your website’s HTML.
Do not edit the chatbot ID or remove part of the code, as this may prevent the widget from loading correctly.
The installation method will depend on how your website has been built. For example, WordPress users may add the code through a header-code plugin, theme settings or another area that supports scripts within the website head.
After adding the code, save or publish the website changes and open the live page to confirm that the chatbot appears correctly.
Step 6: Check the Live Chatbot
Visit your website after installing the embed code and open the chatbot widget.
Check that:
- The chatbot opens correctly
- Your branding and colours display properly
- The home page text is accurate
- Call-to-action buttons open the correct links
- Messages can be sent successfully
- Knowledge-based answers are accurate
- The widget works on desktop and mobile devices
When everything works as expected, your chatbot is ready for visitors.
Your Chatbot Is Ready
That is all it takes to create and publish your Nertia chatbot.
You can return to the editor whenever you need to update its design, change the home page buttons, assign new knowledge sources or adjust its publishing settings. Any time your business information changes, review your Knowledge Base so the chatbot continues to provide current and accurate answers.
To create another chatbot, return to Chatbots in the platform dashboard and select Create New Chatbot. Each chatbot can have its own design, website, language and knowledge sources, allowing you to create focused experiences for different businesses, services or audiences.
Sign up for free at chat.nertia.io
Chatbot Setup FAQs
Do I need coding experience to create a chatbot?
No. The chatbot can be designed and configured through the visual Nertia editor. Some website access may be required when adding the embed code, but you do not need to build the chatbot through code.
Can I preview the chatbot before publishing it?
Yes. The editor includes a live preview that shows how the widget will look as you customise its different pages.
Does the chatbot automatically schedule appointments?
No. The current chatbot does not schedule appointments directly within the conversation. You can add a call-to-action button that sends visitors to an external meeting-booking page.
Can the chatbot qualify or convert leads through conversation logic?
The current version does not use conditional or conversion-based conversation flows. Conversions are supported through the call-to-action buttons displayed on the widget’s home page.
Can I assign more than one document?
Yes. You can assign multiple relevant knowledge sources to the same chatbot.
Do I need to upload my documents before creating the chatbot?
You can create and design your chatbot first, but documents must be uploaded to the main Knowledge Base before they can be assigned as knowledge sources.
Can I edit the chatbot after it has been published?
Yes. You can return to the chatbot editor to change its design, project information, language, knowledge sources or publishing settings.
Can I temporarily remove the chatbot from my website?
Yes. Use the activation switch in the Publish section to deactivate the chatbot without permanently deleting it.
Where should I paste the embed code?
Paste the complete code inside the <head> section of your website. The exact installation process will depend on your website platform.
Should I test the chatbot before activating it?
Yes. Test common customer questions, less obvious queries, call-to-action links and the widget’s appearance across desktop and mobile devices before making it available to visitors.